So, I recently completed my college studies and I have slowly been adjusting to my new life as a free woman. This is the first time in my life where I can literally do anything I want without feeling guilty about not doing school work, and I am not entirely sure what to do with myself! My husband is amazing and suggested that I try a lot of new things, or things I've wanted to do but couldn't because I was preoccupied with school. Not only did this seem like a great idea, but it worked out that I could start this adventure just as spring was coming on.
Just as the Earth comes back to life in the springtime, I kind of feel like my life is coming back to life. To help discover what I really like to do and to spend my days doing what I want, I created a 30 Day Bucket List. There are not 30 things on my list, but there is a list of things that I will accomplish within 30 days. My list includes a few things that I will do during the entire 30 days, a few things that I will do for a week, and then single items that I can do in a day.
So, to introduce my 30 Day Bucket List and to welcome spring back into our lives, here is an item from my bucket list: a lovely and modern floral arrangement to bring life to any room.
To make this beautiful and simple floral display, you will need:
- floral stems of your choice (I chose sunflowers)
- a paper bag (brown, black, or white)
- sheers to trim the floral stems
- a mason jar or similar-sized jar
- glass gems to help hold the stems in place, if needed
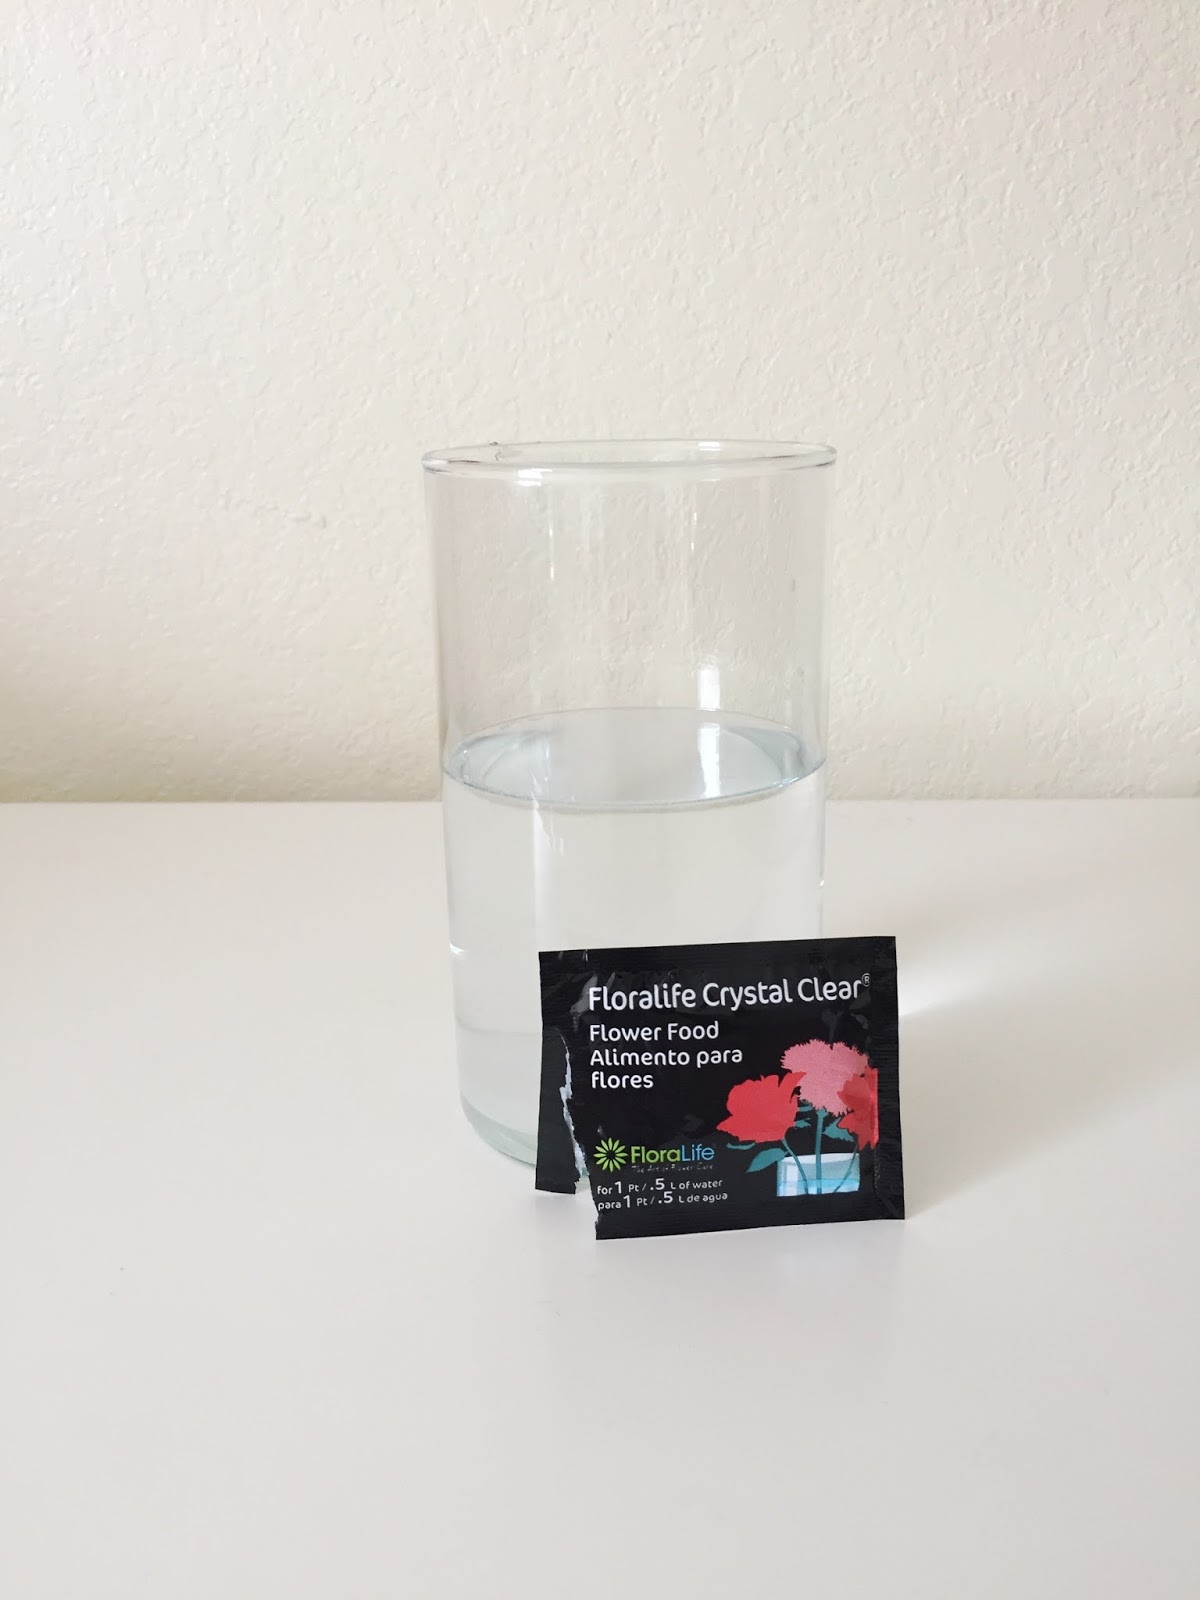
First, put some water and some plant food in your jar. Then trim your stems to your desired length and put them in your vase. If needed, add some glass gems to keep your stems in place. I had to do this with the sunflowers because the stems are so thick, the flowers are heavy, and there weren't enough flowers to fill the vase. The gems worked really well, though, so I would recommend using them if you don't have a lot of flowers and/or you want to keep your stems in a specific arrangement.
Next, open your paper bag and roll down the edges to your desired height. I rolled mine three times so that the top of the paper bag was only slightly taller than the top of my vase. Then simply place your vase with the flowers inside of your paper bag.
To add a little more flare, I used our label maker and added a label to the paper bag. I simply labeled the bag with 'flowers' but you can label yours however you want. I think this arrangement looks so great even without the label, but the label just seemed to be the cherry on top.
This arrangement is so easy and simple, but it adds such a beautiful touch of spring to any room. I am excited about this new 30 day adventure, and I will be sure to include some updates of some of my favorite crafts and activities. I hope y'all take some time to spring into something new that will make you feel alive, especially during this time of year where the Earth is all about new beginnings.
So this month, we are focusing on trying new things. I'll be honest, I forgot about choosing something new I wanted to try... but that is why we have Pinterest in the world! I have so many pins that are crafts or activities that I just save so I can refer to them later, so in order to pick something new to try, all I had to do was scroll through a couple of my Pinterest boards and find a pin. My first choice: gemstone soap! I always think this looks so pretty and it seemed easy enough so I thought, "Heck, I can do that!" Well, here is my experience with making gemstone soap, along with my own tips of what to do and what not to do.
Before we get started, here is a little reggae-style love song titled "Gem" by Irie Souls to get you in the mood. Gotta love it!
Okay! First thing's first - your materials. Here is what you'll need to make your own gemstone soap:
Clear glycerin soap (I bought a 2 lb. block from Hobby Lobby, which is about $10 without a coupon)
Soap Scents - I chose lavender and grapefruit
Soap Dye - I bought a three-pack from Hobby Lobby for about $4 with the colors wine, gold, and orange
A knife
Mircowave-safe bowls
Disposable stirring utensil (I used a wooden skewer)
A 16oz clear plastic disposable cup (I just got the cheapest brand at Walmart - you don't need anything fancy)
A large bowl with ice
Once you have all of your materials, start by cutting your glycerin soap. For one batch of soap, I used two columns, which is a total of 8 squares. Once I got my 8 squares, I cut each of those into 4 pieces, for a total of 32 small soap cubes.
Once you have your soap cut, divide it between your microwave-safe bowls. Use one bowl for each color or shade you would like in your gemstone. For each of mine, I ended up doing 4 shades, so I had 8 of my small cubes in 4 different bowls.
Before I jump ahead, let me clarify a few things. When I made my soap,
I used like a 20 second, no word Buzzfeed video, so some of the steps
were not as clear as they should have been. If you want your gemstone
soap to not be a solid color but to blend gradually from light to dark,
then you cannot dump all of your soap in at once. So, the following steps
are based on the desire to have your colors be blended rather than solid.
Okay. Now that you have your diced soap divided between your bowls, then heat your first bowl of soap in the microwave in 30 second intervals. The max time I needed to melt the soap was 45 seconds. Once your soap is melted, then do the following:
add a few drops of your soap scent
add your soap coloring, if desired (if you want the gradual light to dark look, then I would recommend not adding any color to your first layer)
pour your soap into your clear plastic cup
Now, these next steps get a little tricky with getting the timing right. You want your soap to sit in the cup for a few minutes before you pour your next layer in. By waiting a few minutes, the soap starts to stiffen, so when you pour your next layer in, then it won't just all blend together. The tricky part is knowing when to pour in the next layer. By my third batch, I felt a little more comfortable and waited about 5 minutes in between layers, sometimes closer to 7 minutes. This worked, but be warned! I waited just a little too long, causing my soap to be distinctly layered rather than blended. Not only were they layered, but because the previous layer had dried before I poured in the new layer, the layers did not stick together once I started cutting it into gemstones later.
I would recommend waiting about 3-4 minutes before pouring in your next layer.
So, after a couple of minutes of waiting, start preparing your next layer. Melt the soap in 30 second intervals, add your scent, then add your dye. Here is how much dye I added in each of my layers:
For my pink soap
Layer 1: no dye
Layer 2: one drop of wine color
Layer 3: two drops of wine color
Layer 4: four drops of wine color
For my yellow soap
Layer 1: no dye
Layer 2: one drop of gold color
Layer 3: one drop of gold, one drop of orange
Layer 4: two- three drops of orange
This photo is of all the pink shades I had; however, I would not recommend making all four shades at the same time. If you pour them all in right after the other, then they will blend together and your soap will be a solid color. If you let them sit out while you wait for each layer to stiffen, then the other layers will also stiffen while they sit in the bowls. So, I would simply recommend preparing each layer as you are ready to add it to your cup.
This is my pink and yellow batches after pouring in the second layer. See how they are layered but still have a little blending? That is what I was going for!
Continue this process of preparing your layer, adding it to your cup, and then letting it sit for a few minutes before adding the next layer until all of your layers are added. Once you are done adding your layers, it is time for an ice bath! Add some water to your bowl of ice and then set your cups into the ice bath for 20 minutes.
After the bath, remove your cups, wipe off the water, and work the soap out of the cup. You might be able to do so by loosening the suction between the cup and soap. I just used some scissors and cut my cup until I reached my soap, then I could tear off the cup from around the soap without actually cutting the soap with my scissors.
Now you have some lovely soap blocks and it's time to start cutting them into gemstones!
To start, I cut each soap block into quarters, so I ended up with four pieces of soap from each cup. Then, with each of those pieces, just start cutting off the edges at different angles. Be careful not to cut yourself!!
I ended up with quite a bit of shavings at the end, but I didn't want them to be wasted. So I re-melted the shavings and then poured them into some silicone molds I had lying around the house. If you do the same, just pour the melted soap into your molds and put the molds in the fridge for a while - I ended up leaving them in for a couple of hours while I did other things. When the soap is solid, just pop it out of the mold - now none of the soap is wasted!
Once your gemstones are shaped the way you'd like them to be, you are done! Just look at these beauties! They were so fun and easy (ish) to make, and you can make them too! Now it's your turn to scroll through those never-ending pins on your Pinterest boards and find something new that you want to try. You don't have to be a professional, just have fun and go for it! I already have my next new craft in mind, so come back next week to see what that will be!
I wasn't sure what to do with all of this soap, so I decided to give some of it to my friends at church. I wrapped up some gemstones and attached a little note to each one that said "You're A Gem." While it may have just been a silly play-on-words to go with the soap, just remember that it is actually true. Each of you are as beautiful, unique, and valuable as a gemstone. Don't let anyone tell you otherwise, but also, don't be afraid to embrace your individuality. Don't let anything or anyone stop you from doing what you want to do. This life is meant to be enjoyed, and we are meant to have joy. Embrace who you are, love who you are, and do what makes you truly happy, even if it means stepping out of your comfort zone every once in a while. Because...
spring, \ˈspriŋ\. Verb. 1. to come into being; 2. to stretch out in height.
Spring is quickly approaching, and it's one of my favorite times of the year. There's just something about all of the tree blossoms, budding flowers, and warmer weather that make the days more enjoyable and more beautiful. Most days are not too hot and not too cold, and all you need is a light jacket! And if you think about it, the plant cycle of regrowing year after year is pretty dang amazing.
Ok, that's all neat and stuff, but what does that have to do with the word definition at the top? Well, these are just a few of the definitions of spring, and I want to share a new perspective on this word. When I think of Spring, I typically just think about plants and how lovely the blossoms are (because let's be honest: there's not much that's better than sitting in soft green grass and having fresh blossoms dance around you in the breeze).
My new perspective, however, focuses on YOU.
Take the definitions above and just think about how they can apply to you. Are you allowing your full potential and your full self come into being, or are you stifling your inner need to grow? When was the last time you stretched yourself and increased the height of your character? These are some pretty personal reflection questions, but it had to be done. We all, myself included, occasionally need reminders to step outside of our comfort zone and try something new. But, in all reality, it's these moments where we step into the unknown and unfamiliar that we walk out a different, better person.
There are countless examples of this throughout history. To name just a few:
The Renaissance: During this time of history, literature, philosophy, art, science, and more were redefined and redesigned into a new idea that "Man is the measure of all things." A group of individuals decided to take a chance and try looking at their culture and society in a new perspective. This movement resulted in countless advances that helped our society get to where it is today.
The Enlightenment: following the Renaissance, the Enlightenment era focused more on changing how we think about politics, progress, and government. Many people were motivated by the motto of "Dare to Know," and their ideas resulted in new scientific, political, and societal advances.
Rock and Roll Music: before rock and roll, African American and Caucasian music styles were kept separate. However, cultures combined over time, especially in large cities, and radio stations began playing styles from both cultures. Eventually, Rock and Roll artists (Chuck Berry, Elvis Presley, Ray Charles, etc.) decided to try a new style of music by combining styles from both sides and creating something magnificent.
Now, I'm no history buff or music expert, but these are a few examples of how people decided to take a chance, try something new, and change themselves and the world around them. I know these are also more grand events than what most of us experience in our lifetime, but just focus on the principle. Have you ever stepped out of your comfort zone and tried something new? What did it feel like? Odds are, you enjoyed the experience. If not, you now learned for sure that you do not like skydiving or eating exotic foods or dancing in front of people (to name a few out-of-your-comfort-zone things). But whatever way the cookie crumbles, most people don't regret taking chances; instead, you'll regret staying inside your comfort zone and not seeking ways to expand your character.
So! To the point of all this rambling: I am extending a CHALLENGE to you. This month, think of something that you have been wanting to try but have been too nervous to make it happen. Now, take a deep breath, use 20 seconds of insane courage, and make it happen. And don't worry, I'm going to do it with you. This is what I'm going to do:
I grew up with art. My dad is an artist, I took art lessons, and I studied art as part of my college education. Although I love doing art, I don't like showing it. I always get intimidated and feel like my work isn't worth showing. But this month, I'm going to actually publicly display my art. Guys, this is a big step for me. But I'm going to do it. I'm doing it do it this weekend, and I'll come back next week and share how it went!
Best of luck to you! Si se puede! (You can do it!) And please share what you did to step out of your comfort zone this month and what happened when you did it. We'd love to hear about your experiences!