So, I recently completed my college studies and I have slowly been adjusting to my new life as a free woman. This is the first time in my life where I can literally do anything I want without feeling guilty about not doing school work, and I am not entirely sure what to do with myself! My husband is amazing and suggested that I try a lot of new things, or things I've wanted to do but couldn't because I was preoccupied with school. Not only did this seem like a great idea, but it worked out that I could start this adventure just as spring was coming on.
Just as the Earth comes back to life in the springtime, I kind of feel like my life is coming back to life. To help discover what I really like to do and to spend my days doing what I want, I created a 30 Day Bucket List. There are not 30 things on my list, but there is a list of things that I will accomplish within 30 days. My list includes a few things that I will do during the entire 30 days, a few things that I will do for a week, and then single items that I can do in a day.
So, to introduce my 30 Day Bucket List and to welcome spring back into our lives, here is an item from my bucket list: a lovely and modern floral arrangement to bring life to any room.
To make this beautiful and simple floral display, you will need:
- floral stems of your choice (I chose sunflowers)
- a paper bag (brown, black, or white)
- sheers to trim the floral stems
- a mason jar or similar-sized jar
- glass gems to help hold the stems in place, if needed
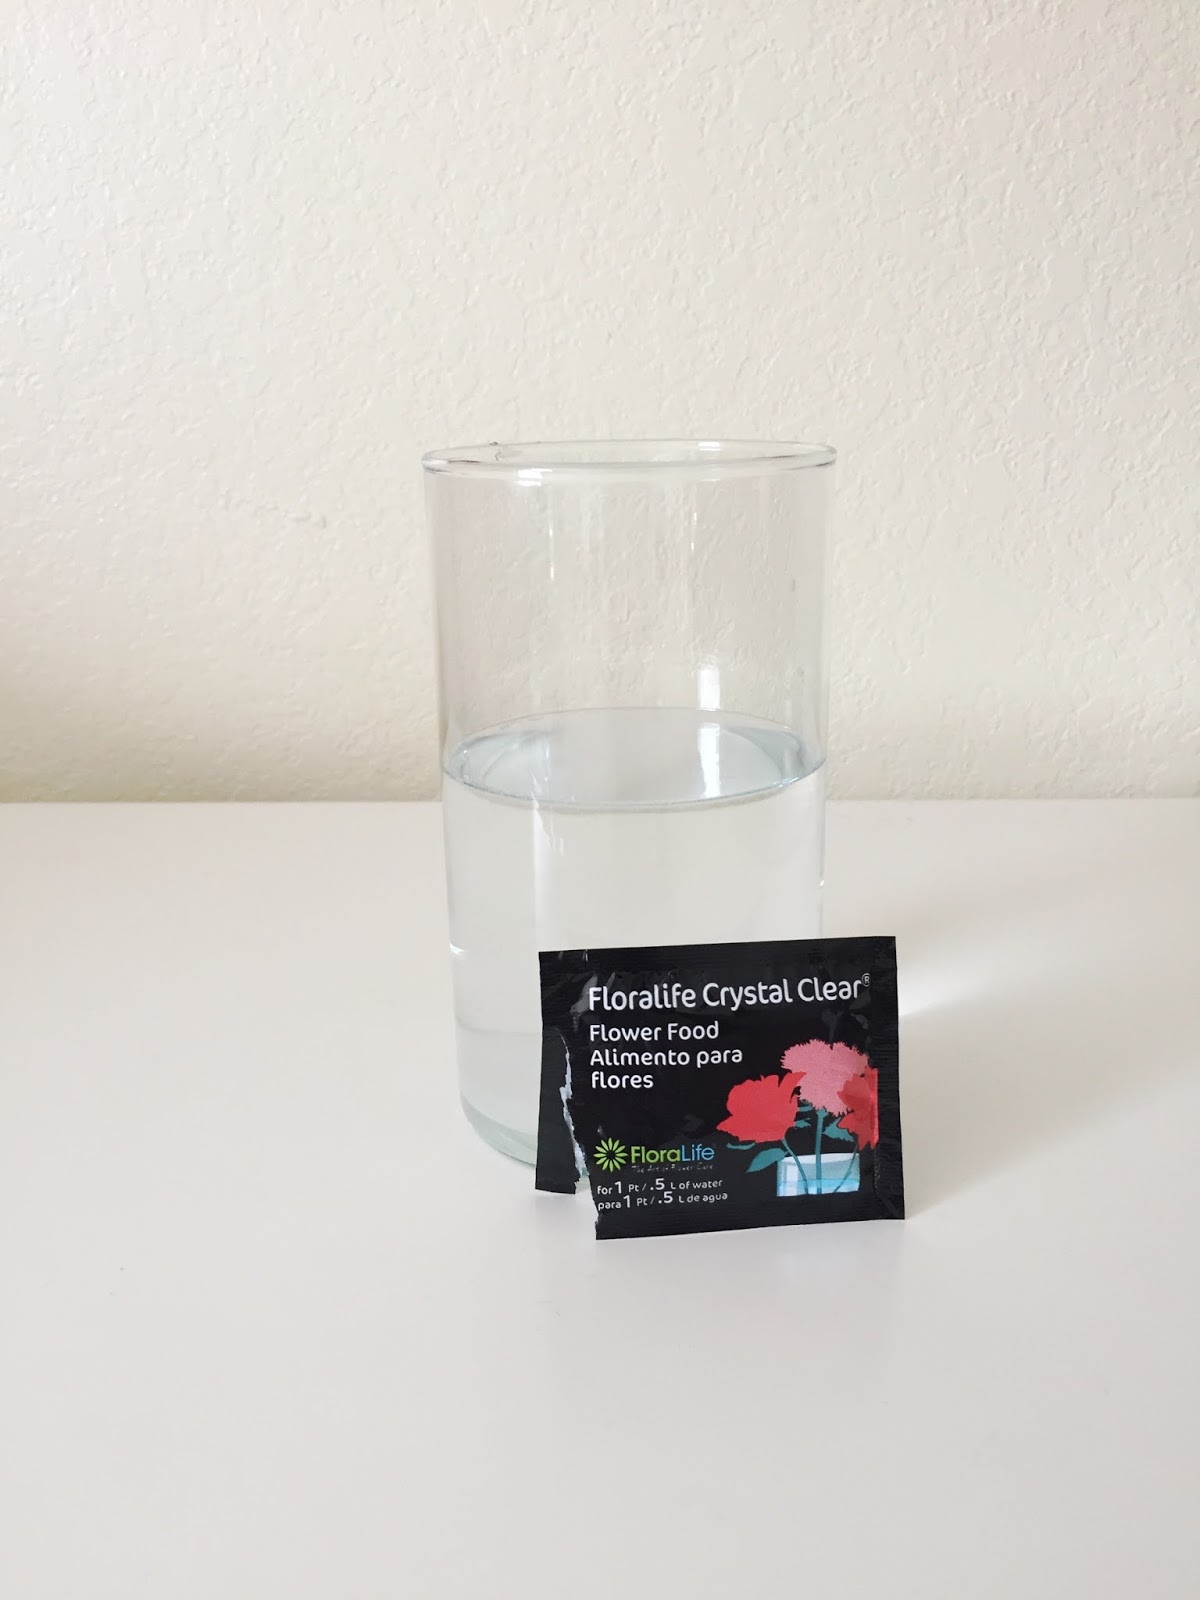
First, put some water and some plant food in your jar. Then trim your stems to your desired length and put them in your vase. If needed, add some glass gems to keep your stems in place. I had to do this with the sunflowers because the stems are so thick, the flowers are heavy, and there weren't enough flowers to fill the vase. The gems worked really well, though, so I would recommend using them if you don't have a lot of flowers and/or you want to keep your stems in a specific arrangement.
Next, open your paper bag and roll down the edges to your desired height. I rolled mine three times so that the top of the paper bag was only slightly taller than the top of my vase. Then simply place your vase with the flowers inside of your paper bag.
To add a little more flare, I used our label maker and added a label to the paper bag. I simply labeled the bag with 'flowers' but you can label yours however you want. I think this arrangement looks so great even without the label, but the label just seemed to be the cherry on top.
This arrangement is so easy and simple, but it adds such a beautiful touch of spring to any room. I am excited about this new 30 day adventure, and I will be sure to include some updates of some of my favorite crafts and activities. I hope y'all take some time to spring into something new that will make you feel alive, especially during this time of year where the Earth is all about new beginnings.
I hope you enjoy my Easter-related bunny puns, because this post is all about bunny crafts for Easter. When spring comes around, I can't help but think about Easter - and the combined seasons make it easy to decorate your house. So if you want an easy but adorable spring craft that you can make on your own or with your kiddos then keep on reading because today, we are making pom-pom bunnies!
So, before you get started, here's what you will need:
Yarn in the colors you want for your bunny (I used cream, light grey, and dark grey) (also, the dark grey and cream were chunky, and the light grey was normal thickness)
Scissors
Pom pom makers
Felt for the ears (colors to match the yarn, as well as pink for the inner ear)
Thin yarn or embroidery thread for the eyes and nose (I used black and pink)
Hot glue gun
Okay, so here are my instructions on how to use the pom pom makers. I bought this set from Hobby Lobby, and they worked pretty well. This set has four sizes, and for the larger bunny, I used sizes 2 and 4, and then used the smallest size (size 1) for the tail).
First, make the head. Set up the pom pom makers like the picture below, then stack them together.
Wrap your yarn around your pom pom maker. Wrap the yarn so that it covers all of the pom pom maker, and use the same strand of yarn to wrap around both halves of the pom pom maker.
When you are done wrapping the yarn around the pom pom maker, then put the two halves together to form a circle and use the clasps to keep the pieces together. Then use your scissors to cut along the space between the two plastic pieces.
This is what your pom pom will look like after you cut around the circle.
To finish off your pom pom, take a strand of yarn and lay it in the gap between the two plastic pieces, like in the picture below. Wrap the strand all the way around the circle, and then tie a knot - be sure the knot is very tight, since this is what will be keeping your pom pom together. Once you have tied your knot, then remove the plastic pieces and you will see how the yarn is in a little pom pom. To finish it off, use your scissors to trim the pom pom to the desired size.
So now you have your bunny head! Now time for the body. If you want your bunny to have a little white tummy, then follow the directions below. If not, then simply make the body with a single color, using the largest sized pom pom maker. To make a white tummy, put the two pieces of the pom pom maker together, and wrap the cream yarn around the center of one of the halves, making a V shape with the yarn. Go ahead and make it pretty thick too - no need to do one layer.
After you finish with the cream yarn, use the same yarn you used for the head to wrap around the rest of the pom pom maker. Then cut along the gap between the two pieces and tie off your pom pom with another strand. Finish it off by trimming your pom pom to an appropriate size to fit the bunny head. If you want the bunny to sit flat on a shelf or something, then trim one edge shorter and with straight cuts rather than making it rounded. That side will be the bottom and allow the pom pom to sit flat.
Finally, make the bunny tail. I used the smallest size of the pom pom maker with the cream yarn. Follow the same instructions as the head. When trimming the pom pom, trim half of it to be flat so that it will sit against the body easily.
If you want ears and a nose on your bunny, then go ahead and do it now. I did black eyes on one of my bunnies, but then realized that it wasn't very noticeable, so for the other ones, I did not make eyes. For the eyes and noses, simply loop your yarn or thread through a needle and tie a knot on the other end. Thread it through the entire pom pom, and make an 'X' or a circle on the face side. For the nose, thread your pink yarn and make an 'X' or a 'T' with the yarn on the face side. When you're done making the eyes and/or noses, just pull the thread to the back of the pom pom and cut it.
Once you have all of your pom poms, use your hot glue gun to attach the head and tail to the body.
Now it's time to make the ears! I didn't use a pattern for this but just judged the size based on the size of the head. My first two bunnies were larger, with the dark grey, and my ears ended up being a little oversized, so I would say that you should make the ears smaller than you would expect. Use your grey felt to make the ear in a color that matches the yarn, and then make a pink piece that is slightly smaller than the outer ear size. Use your hot glue to glue the pink onto the grey. Then, if you want, glue the left and right edges together at the base of the ears to make the ears more rounded than flat.
Once your glue is dry, then glue the ears onto the pom pom head, and your bunny is done! Again, my ears were a little oversized, but the bunnies still ended up being super cute. After I made two large, dark grey bunnies, I made a smaller light grey one. Now I have some adorable, fuzzy little bunnies around the house just in time for spring and Easter.
Hey y'all - I'm back and I have a new project that I tried this week! For those of you who may not have noticed, macramé is making a HUGE comeback and it is amazing. My sister-in-law Tasmin and I have been obsessing over this for quite some time now. I mean, just look at how beautiful and versatile macramé can be!!!
(all of these photos were found by doing a Google search)
(also, for any of you that are interested in macrame and want to see more beautiful options,
follow my weaving Pinterest board, or just follow me on Pinterest in general!)
For Christmas, Tasmin gave me this macramé book and this macramé cord so I could actually make my own wall hangings and other beautiful projects she knows me so well. So after I finished my gemstone soap, I knew my next project had to be a macramé wall hanging. Here is what I used for my project:
Macramé Pattern Book
Wooden Dowel
Cotton Macramé cord
Twine for hanging the dowel
Scissors
thumb tacks - to hang the dowel
First, I wrapped and tied my twine around the ends of my dowel, then I hung the dowel on my wall using thumbtacks. I hung this on a spot where I knew I would not hang it permanently, but in a place where I could sit on the floor and work on the project.
Next, I cut 14 strands of cord at my desired length - for this project, each strand measured from fingertip to fingertip. Then I attached each strand to my dowel using a lark's head knot.
Now, I did not have a specific pattern I was following for this project, which may have been a bad idea. Because I did not know really what I wanted, it took me a lot longer to finish this project than it should have. I was constantly trying new knots in different patterns and then taking them out. I wanted to try a variety of knots, but I just didn't know how I wanted this project to end up. If I had a pattern to follow, I could have easily finished in a few hours - I found most of the knots to be pretty simple. But, no matter how many times I added and removed knots, I always kept my first few rows as an alternating pattern of square knots.
Regardless of how long it took me or how frustrated I got at not knowing what I wanted, I found the book to be very helpful. I also used some of the posts from my Pinterest board as guidance, and I also found this video to be very informative and easy to follow. Here's a couple of tips I would suggest based on my first experience with macramé:
If you are making a wall hanging, try using thinner cord. I found that the cord I used was great and thick, but as you can see in the photos, it was a little difficult to make it lay flat once it had been knotted.
If you want to make a hanging planter, I would definitely recommend using this cord- the thickness will work great not only for the knots but also keep it sturdy and capable of holding a heavier pot
When making your project, make your strands a little longer than expected. Overall, my length worked well but I had to change my desired pattern several times because a few of my strands got shorter than the rest and I was not able to continue making the same pattern I wanted.
Have fun! Macramé is so versatile with knot patterns for beginners through experts - make this project your own and don't be afraid to try some more challenging knots; they may be easier than you think!
I had such a fun time with this new project, and I am really glad I finally gave it a try! My first hanging is certainly not perfect, but I still love it. And even with taking out my pattern so many times, I found macramé to be very relaxing. I will definitely be trying this again soon.
What are some new project you have done recently? Tell us about your experiences with trying new things, expanding your skills, and stepping out of your comfort zone.
So this month, we are focusing on trying new things. I'll be honest, I forgot about choosing something new I wanted to try... but that is why we have Pinterest in the world! I have so many pins that are crafts or activities that I just save so I can refer to them later, so in order to pick something new to try, all I had to do was scroll through a couple of my Pinterest boards and find a pin. My first choice: gemstone soap! I always think this looks so pretty and it seemed easy enough so I thought, "Heck, I can do that!" Well, here is my experience with making gemstone soap, along with my own tips of what to do and what not to do.
Before we get started, here is a little reggae-style love song titled "Gem" by Irie Souls to get you in the mood. Gotta love it!
Okay! First thing's first - your materials. Here is what you'll need to make your own gemstone soap:
Clear glycerin soap (I bought a 2 lb. block from Hobby Lobby, which is about $10 without a coupon)
Soap Scents - I chose lavender and grapefruit
Soap Dye - I bought a three-pack from Hobby Lobby for about $4 with the colors wine, gold, and orange
A knife
Mircowave-safe bowls
Disposable stirring utensil (I used a wooden skewer)
A 16oz clear plastic disposable cup (I just got the cheapest brand at Walmart - you don't need anything fancy)
A large bowl with ice
Once you have all of your materials, start by cutting your glycerin soap. For one batch of soap, I used two columns, which is a total of 8 squares. Once I got my 8 squares, I cut each of those into 4 pieces, for a total of 32 small soap cubes.
Once you have your soap cut, divide it between your microwave-safe bowls. Use one bowl for each color or shade you would like in your gemstone. For each of mine, I ended up doing 4 shades, so I had 8 of my small cubes in 4 different bowls.
Before I jump ahead, let me clarify a few things. When I made my soap,
I used like a 20 second, no word Buzzfeed video, so some of the steps
were not as clear as they should have been. If you want your gemstone
soap to not be a solid color but to blend gradually from light to dark,
then you cannot dump all of your soap in at once. So, the following steps
are based on the desire to have your colors be blended rather than solid.
Okay. Now that you have your diced soap divided between your bowls, then heat your first bowl of soap in the microwave in 30 second intervals. The max time I needed to melt the soap was 45 seconds. Once your soap is melted, then do the following:
add a few drops of your soap scent
add your soap coloring, if desired (if you want the gradual light to dark look, then I would recommend not adding any color to your first layer)
pour your soap into your clear plastic cup
Now, these next steps get a little tricky with getting the timing right. You want your soap to sit in the cup for a few minutes before you pour your next layer in. By waiting a few minutes, the soap starts to stiffen, so when you pour your next layer in, then it won't just all blend together. The tricky part is knowing when to pour in the next layer. By my third batch, I felt a little more comfortable and waited about 5 minutes in between layers, sometimes closer to 7 minutes. This worked, but be warned! I waited just a little too long, causing my soap to be distinctly layered rather than blended. Not only were they layered, but because the previous layer had dried before I poured in the new layer, the layers did not stick together once I started cutting it into gemstones later.
I would recommend waiting about 3-4 minutes before pouring in your next layer.
So, after a couple of minutes of waiting, start preparing your next layer. Melt the soap in 30 second intervals, add your scent, then add your dye. Here is how much dye I added in each of my layers:
For my pink soap
Layer 1: no dye
Layer 2: one drop of wine color
Layer 3: two drops of wine color
Layer 4: four drops of wine color
For my yellow soap
Layer 1: no dye
Layer 2: one drop of gold color
Layer 3: one drop of gold, one drop of orange
Layer 4: two- three drops of orange
This photo is of all the pink shades I had; however, I would not recommend making all four shades at the same time. If you pour them all in right after the other, then they will blend together and your soap will be a solid color. If you let them sit out while you wait for each layer to stiffen, then the other layers will also stiffen while they sit in the bowls. So, I would simply recommend preparing each layer as you are ready to add it to your cup.
This is my pink and yellow batches after pouring in the second layer. See how they are layered but still have a little blending? That is what I was going for!
Continue this process of preparing your layer, adding it to your cup, and then letting it sit for a few minutes before adding the next layer until all of your layers are added. Once you are done adding your layers, it is time for an ice bath! Add some water to your bowl of ice and then set your cups into the ice bath for 20 minutes.
After the bath, remove your cups, wipe off the water, and work the soap out of the cup. You might be able to do so by loosening the suction between the cup and soap. I just used some scissors and cut my cup until I reached my soap, then I could tear off the cup from around the soap without actually cutting the soap with my scissors.
Now you have some lovely soap blocks and it's time to start cutting them into gemstones!
To start, I cut each soap block into quarters, so I ended up with four pieces of soap from each cup. Then, with each of those pieces, just start cutting off the edges at different angles. Be careful not to cut yourself!!
I ended up with quite a bit of shavings at the end, but I didn't want them to be wasted. So I re-melted the shavings and then poured them into some silicone molds I had lying around the house. If you do the same, just pour the melted soap into your molds and put the molds in the fridge for a while - I ended up leaving them in for a couple of hours while I did other things. When the soap is solid, just pop it out of the mold - now none of the soap is wasted!
Once your gemstones are shaped the way you'd like them to be, you are done! Just look at these beauties! They were so fun and easy (ish) to make, and you can make them too! Now it's your turn to scroll through those never-ending pins on your Pinterest boards and find something new that you want to try. You don't have to be a professional, just have fun and go for it! I already have my next new craft in mind, so come back next week to see what that will be!
I wasn't sure what to do with all of this soap, so I decided to give some of it to my friends at church. I wrapped up some gemstones and attached a little note to each one that said "You're A Gem." While it may have just been a silly play-on-words to go with the soap, just remember that it is actually true. Each of you are as beautiful, unique, and valuable as a gemstone. Don't let anyone tell you otherwise, but also, don't be afraid to embrace your individuality. Don't let anything or anyone stop you from doing what you want to do. This life is meant to be enjoyed, and we are meant to have joy. Embrace who you are, love who you are, and do what makes you truly happy, even if it means stepping out of your comfort zone every once in a while. Because...
This is seriously the easiest thing to make. And it only has four ingredients. Easiest. Thing. Ever. I kid you not. It doesn't even need any more explanation than that. So I'm done.
1 25oz package frozen ravioli, any variety
1 jar pasta sauce, whatever kind you like
2 cups shredded mozzarella cheese
<1 cup shredded parmesan cheese, for sprinkling
Grease a 9x13 baking dish. Spread about 3/4 cup sauce over the bottom of the dish to coat. Arrange half of the ravioli over the sauce in one layer. Spread about 1 cup sauce over the ravioli, then sprinkle 1 cup mozzarella over the sauce. Create another layer with the remaining ravioli, top with remaining sauce and mozzarella cheese. Sprinkle parmesan over mozzarella. Cover dish with aluminum foil. Bake at 400* for 30 minutes. Remove foil, bake for another 10-15 minutes until cheese is melted and slightly browned. Let stand for 5 minutes before serving.
This is a great dish to make on a day you know you're going to have no time to make dinner. It literally takes 5 minutes to throw together, then it just cooks all day & is ready when you are! There are only 6 ingredients, too, so it couldn't be simpler.
Crockpot Italian Chicken
Serves 4
2 chicken breasts, halved
1 lb. mini carrots
2-3 large yellow or 3-4 red potatoes
12-16 oz. Italian salad dressing
1 teaspoon Italian seasoning
Parmesan cheese, grated
Cut potatoes into bite-sized pieces. Put potatoes in the bottom of your crockpot. Place chicken breast halves over potatoes. Sprinkle Italian seasoning over chicken. Dump carrots over chicken and potatoes. Pour dressing over carrots- if you like your chicken saucy, use more dressing. If you simply want it flavored, use less. Cover and cook on low 6-8 hours. Sprinkle with Parmesan cheese to serve.
Seriously. This is one of the most flavorful roasts. It's essentially foolproof, and is so, so easy. I think the difference in tenderness is the cut of meat, but I don't know one specifically because I just buy whatever is the right size at the right price. Cheap-o over here. But regardless of the cut, the meat will come out juicy and so very yummy. The carrots and potatoes are totally optional, but they absorb the flavor really well, and make this a more filling, more complete dish. And I totally eyeball the amount of veggies, so do whatever you think will work for the size group you are feeding. The type of potatoes you use is very flexible, just don't use russet (baking) potatoes. Red, yellow, white, or fingerling are great. And if you use fingerling, just cut them in half, maybe thirds, not eighths.
Low and slow is the way to cook this- I've forgotten and had to do it on high, and the meat just isn't as tender. So low and slow. If you need to cook a roast larger than 3 lbs, I'd add another jar of peppers and use maybe half the juice for each pound over 3. Just to make sure there's enough juice in that baby. If your roast is smaller than 2 or 3 pounds, use the whole jar anyways. Can't hurt. :)
Crockpot Peperoncini Roast
2-3 lb beef roast
1 jar peperoncini peppers
1 lb mini carrots
3 or 4 red, yellow, or white potatoes, cut into eighths
Place the potatoes in the bottom of the crockpot, followed by the carrots, then the meat. Dump the jar of peperoncini, including the juice, over everything. Cook on LOW for 6-8 hours.
So. Much. Flavor. You'll want to feed it to all your friends. Just don't tell them how easy it is!
So, I made this for dinner the other night. I found the recipe here, and modified it a bit to work with what we had. It basically became a new recipe, because it definitely wasn't Chicken Alfredo. It did turn out to be super yummy and was a happy change from our typical noodles and sauce. We BBQ'd chicken the night before, so I used that instead. Rotisserie chicken would be great for this, too. And honestly, I didn't measure the chicken. I just kept adding pieces until it looked right. Eyeball it! It just depends on what chicken/pasta ratio you want. We also didn't have any cream so I used a substitute for that, too.
One Pan Buttery Parmesan Chicken and Pasta
Serves 4
2 Chicken Breasts
1 teaspoon minced garlic
1/3 cup butter
3/4 cup milk
2 cups water
2 teaspoons chicken bullion
1/2 lb. uncooked, bite-sized pasta
2 cups shredded parmesan cheese
salt and pepper to taste
dried parsley, for garnish, if desired
If using raw chicken, brown in a skillet with a little olive oil until no longer pink. If using pre-cooked chicken, heat in a skillet until warm. Add the garlic, and cook until fragrant, 1 or 2 minutes. Add butter, milk, water, bullion, and pasta. Bring to a boil, cover, and reduce heat. Simmer for 15-20 minutes, until pasta is cooked. Remove from heat and stir in parmesan cheese and salt and pepper, if desired. Garnish with parsley.
The kids ate this up, husband loved it, and I thought it was pretty good, too. It was definitely a quick, easy dinner!
For years this has been one of our family favorites. We make if for breakfast, lunch, dinner, or just whenever we're needing some good fall comfort deliciousness.
When it's just the two of us, Husband and I like to half the recipe and then make it into two personal sized pancakes. We just mix it all up like normal, except obviously half the recipe, and then split it between two small Corningware dishes. It's just the right amount that way.
Apple Puffed Pancakes
Makes 5-6 servings
6 eggs
1 1/2 cups milk
1 cup all-purpose flour
3 Tablespoons granulated sugar
1 Tablespoon vanilla extract
1/2 teaspoon salt
1/4 teaspoon nutmeg
1/4 teaspoon cinnamon
3 Tablespoons butter
2 Apples, peeled and thinly sliced
2-3 Tablespoons brown sugar
Maple Syrup
Preheat oven to 425 degrees.
In a large bowl mix eggs, milk, flour, granulated sugar, vanilla, salt, cinnamon and nutmeg until blended. Batter will be slightly lumpy.
Melt butter in a 12-inch fluted porcelain quiche dish or 13x9 baking dish in oven.
Once butter is melted, lay out the apple slices to evenly coat bottom of the dish.
Return to oven until butter sizzles. Do not let it brown.
Remove dish from oven and immediately pour batter over apples. Sprinkle with brown sugar.
Bake in middle of oven for 20 minutes or until puffed and brown.
Once removed drizzle maple syrup (or brown sugar syrup!) over top to your heart's content.
Best. Syrup. Ever. For serious. Make this next time you have pancakes or waffles, and you'll never want to buy syrup again. So go. Have breakfast for dinner today. And make this syrup!
Brown Sugar Syrup
makes about 1 cup
1 cup brown sugar, packed
1/2 cup water
1 Tablespoon butter
1/2 teaspoon vanilla
Combine sugar and water; bring to a boil and boil for 2 minutes. Remove from heat and stir in butter and vanilla. Serve hot. On everything.
These are the easiest and yummiest French dip sandwiches. It only takes a few minutes, and bam! you have a warm, comforting, filling sandwich. Pair it with a salad and some fruit, and you've got a delicious meal.
When I buy roast beef for these sandwiches, I always get it from the deli section of the grocery store. No pre-packaged meat here! Have them cut it on their second-thinnest setting. Thinner is definitely better, but you don't want it so thin that the meat falls apart when you try to put it in the sandwiches.
And as for the rolls, if you spread the cut sides with a little butter and toast them on a skillet, it adds a wonderful flavor and crunch to the whole shebang. French Dip Sandwiches
(Better Homes & Gardens, adapted)
1/2 large white or yellow onion, thinly sliced and separated into rings
1 clove garlic, minced
1 Tablespoon butter or margarine
2 cups beef broth
1/2 teaspoon dried thyme
1/4 teaspoon black pepper
1 lb. thinly sliced cooked beef
4 French-style rolls, split
In a saucepan, cook onion and garlic in hot butter until tender. Stir in broth, thyme, and pepper. Bring to boiling; reduce heat. Simmer, uncovered, for 10 minutes. Add beef, separating slices. Return to boiling; reduce heat. Simmer, uncovered, for 5 minutes or until meat is heated through.
Remove beef slices and onions from liquid. Arrange on rolls. Serve with individual dishes of broth mixture for dipping.