Pages

Showing posts with label new things. Show all posts

22 April 2017

Springing Into Something New


So, I recently completed my college studies and I have slowly been adjusting to my new life as a free woman. This is the first time in my life where I can literally do anything I want without feeling guilty about not doing school work, and I am not entirely sure what to do with myself! My husband is amazing and suggested that I try a lot of new things, or things I've wanted to do but couldn't because I was preoccupied with school.  Not only did this seem like a great idea, but it worked out that I could start this adventure just as spring was coming on. 

Just as the Earth comes back to life in the springtime, I kind of feel like my life is coming back to life. To help discover what I really like to do and to spend my days doing what I want, I created a 30 Day Bucket List. There are not 30 things on my list, but there is a list of things that I will accomplish within 30 days. My list includes a few things that I will do during the entire 30 days, a few things that I will do for a week, and then single items that I can do in a day. 

So, to introduce my 30 Day Bucket List and to welcome spring back into our lives, here is an item from my bucket list: a lovely and modern floral arrangement to bring life to any room. 


To make this beautiful and simple floral display, you will need: 

- floral stems of your choice (I chose sunflowers)
- a paper bag (brown, black, or white)
- sheers to trim the floral stems 
- a mason jar or similar-sized jar
- glass gems to help hold the stems in place, if needed


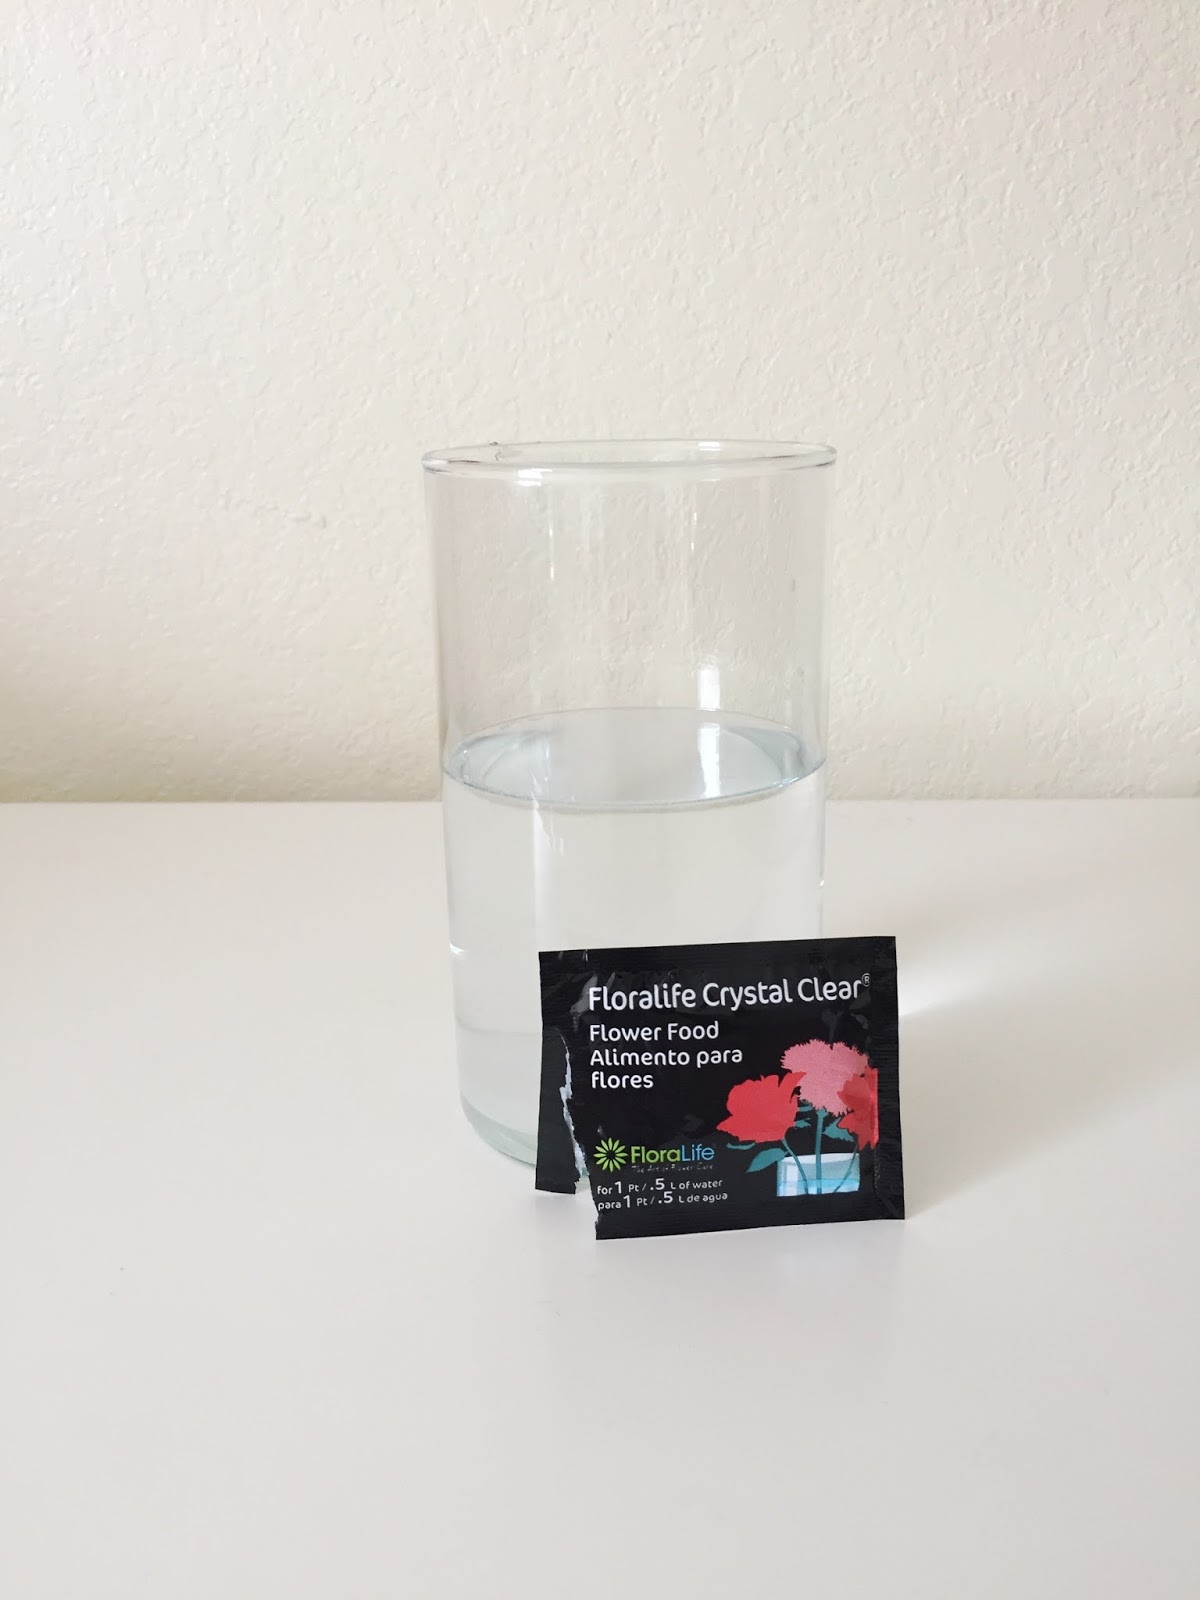
First, put some water and some plant food in your jar.  Then trim your stems to your desired length and put them in your vase. If needed, add some glass gems to keep your stems in place. I had to do this with the sunflowers because the stems are so thick, the flowers are heavy, and there weren't enough flowers to fill the vase. The gems worked really well, though, so I would recommend using them if you don't have a lot of flowers and/or you want to keep your stems in a specific arrangement. 


Next, open your paper bag and roll down the edges to your desired height. I rolled mine three times so that the top of the paper bag was only slightly taller than the top of my vase. Then simply place your vase with the flowers inside of your paper bag.


 To add a little more flare, I used our label maker and added a label to the paper bag. I simply labeled the bag with 'flowers' but you can label yours however you want. I think this arrangement looks so great even without the label, but the label just seemed to be the cherry on top.  


This arrangement is so easy and simple, but it adds such a beautiful touch of spring to any room. I am excited about this new 30 day adventure, and I will be sure to include some updates of some of my favorite crafts and activities. I hope y'all take some time to spring into something new that will make you feel alive, especially during this time of year where the Earth is all about new beginnings. 


xo, Kate 

23 March 2017

Macra-May-I


Hey y'all - I'm back and I have a new project that I tried this week! For those of you who may not have noticed, macramé is making a HUGE comeback and it is amazing. My sister-in-law Tasmin and I have been obsessing over this for quite some time now. I mean, just look at how beautiful and versatile macramé can be!!! 


 (all of these photos were found by doing a Google search)

(also, for any of you that are interested in macrame and want to see more beautiful options, 
follow my weaving Pinterest board, or just follow me on Pinterest in general!) 

For Christmas, Tasmin gave me this macramé book and this macramé cord so I could actually make my own wall hangings and other beautiful projects she knows me so well. So after I finished my gemstone soap, I knew my next project had to be a macramé wall hanging. Here is what I used for my project:

Macramé Pattern Book
Wooden Dowel
Cotton Macramé cord
Twine for hanging the dowel
Scissors
thumb tacks - to hang the dowel


 First, I wrapped and tied my twine around the ends of my dowel, then I hung the dowel on my wall using thumbtacks. I hung this on a spot where I knew I would not hang it permanently, but in a place where I could sit on the floor and work on the project.


Next, I cut 14 strands of cord at my desired length - for this project, each strand measured from fingertip to fingertip. Then I attached each strand to my dowel using a lark's head knot. 


Now, I did not have a specific pattern I was following for this project, which may have been a bad idea. Because I did not know really what I wanted, it took me a lot longer to finish this project than it should have. I was constantly trying new knots in different patterns and then taking them out. I wanted to try a variety of knots, but I just didn't know how I wanted this project to end up. If I had a pattern to follow, I could have easily finished in a few hours - I found most of the knots to be pretty simple. But, no matter how many times I added and removed knots, I always kept my first few rows as an alternating pattern of square knots. 


Regardless of how long it took me or how frustrated I got at not knowing what I wanted, I found the book to be very helpful. I also used some of the posts from my Pinterest board as guidance, and I also found this video to be very informative and easy to follow.  Here's a couple of tips I would suggest based on my first experience with macramé:

  • If you are making a wall hanging, try using thinner cord. I found that the cord I used was great and thick, but as you can see in the photos, it was a little difficult to make it lay flat once it had been knotted. 
  • If you want to make a hanging planter, I would definitely recommend using this cord- the thickness will work great not only for the knots but also keep it sturdy and capable of holding a heavier pot
  • When making your project, make your strands a little longer than expected. Overall, my length worked well but I had to change my desired pattern several times because a few of my strands got shorter than the rest and I was not able to continue making the same pattern I wanted. 
  • Have fun! Macramé is so versatile with knot patterns for beginners through experts - make this project your own and don't be afraid to try some more challenging knots; they may be easier than you think! 


I had such a fun time with this new project, and I am really glad I finally gave it a try! My first hanging is certainly not perfect, but I still love it. And even with taking out my pattern so many times,  I found macramé to be very relaxing. I will definitely be trying this again soon. 

What are some new project you have done recently? Tell us about your experiences with trying new things, expanding your skills, and stepping out of your comfort zone.


Until next time,
xo Kate